
 In Elden Ring, players must choose between two paths – Sorcery or Incantation – and each path offers different benefits to the player. In addition to the obvious differences between the two classes, there are several spells that are exclusive to one class or another. While many of the spells offered by both classes are similar, there are a few spells that are unique to one class or the other. Here are 10 of the most powerful Incantations in Eldon Ring.
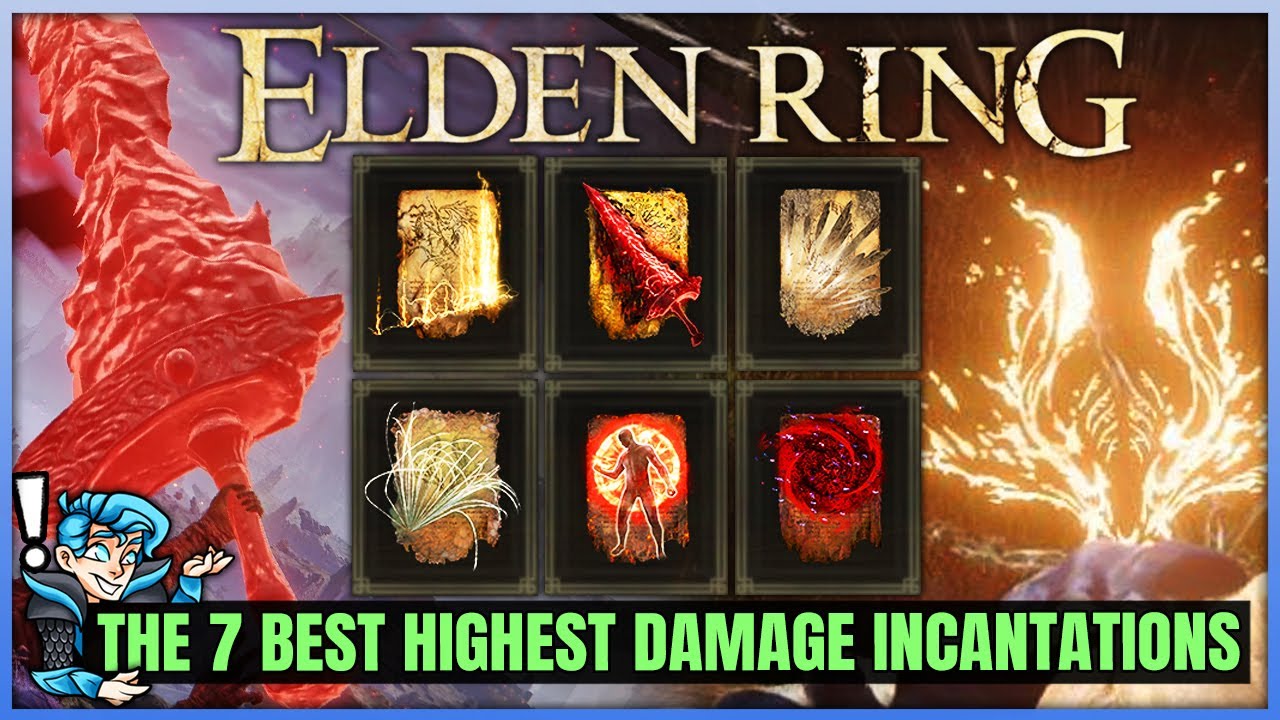
Elden ring Incantations can be learned from a variety of NPCs throughout the game, and some can be discovered hidden in specific places on the map. Players would do well to prioritize these Incantations wherever they can be found, because their benefits can be quite helpful.
1. “Cure Wounds“: This spell allows the caster to heal up to three allies within 30 feet of him/herself per turn.
2. “Detect Magic“: This spell reveals magical items such as potions and scrolls.
3. “Detect Traps“: This spell detects traps placed anywhere in the area where it is cast.
4. “Dispel Undead“: This spell removes undead creatures from the battlefield.
5. “Enchant Weapon“: This spell enhances weapons with enchantments.
6. “Force Push“: This spell pushes enemies back a short distance.
7. “Gather Information“: This spell gathers information about an enemy’s location.
8. “Haste“: This spell increases movement speed for a short duration.
9. “Identify“: This spell identifies the type of creature you’re looking at.
10. “Invisibility“: This spell makes the caster invisible for a short period of time.
15 Rejection
Rejection is a powerful spell that can push back large crowds of enemies. While it does not do much damage itself, it can be used to knock enemy mobs down and keep them away from you. In addition, Rejection can be bought from Brother Corhyn for 600 runes.
14 Darkness
The darkness spell is one of the most versatile spells in the game, allowing players to turn the tide of battle in their favor. In addition to being able to clear out enemies and heal allies, the spell allows you to catch up to fleeing foes and even strike them from behind. Players are encouraged to use the spell to keep the pressure on their opponents while healing themselves, especially once they’ve been weakened by the effects of the Dark Ritual.
13 Barrier of Gold
The 13th barrier of gold, called “Barrier of Gold,” is one of the most difficult barriers to acquire in Final Fantasy XV. To obtain it, players must complete the main story questline in the game, defeating the final boss, and then travel to Lehends, where the barrier resides.
Players must first complete the main story questlines in the game, including the three main quests, the optional sidequests and the main quests of each city visited during the main storyline. Once done, players must head north to the town of Lehends. There, they must speak with the man named Galdes, who lives near the entrance to the village. He will ask you to find him a book he needs, which is located in the library in the center of the town. After finding the book, return to Galdes, where he will give you the incantation needed to open the 13th barrier.
Once acquired, the barrier allows the player to heal themselves and nearby allies whenever they are hit by magic attacks. While this ability is extremely helpful, it does come at a cost. When activated, it takes up a large amount of MP and lowers defense. This effect lasts for about five minutes.
12 Aspects Of The Crucible: Tail
The Crucible Knight is one of the most powerful bosses in Monster Hunter World. He appears in the Evergaol area, where he guards the entrance to the Stormhill Evergaold. To defeat him, you must kill his four lesser knights and then use the Crucible Knight himself. Once defeated, the Crucible Knight drops the armor set “Aspect of the Crucible.” If you are able to obtain it, the armor set grants access to 12 spells called aspects of the crucible. These aspects can be cast on monsters while mounted, allowing hunters to inflict additional effects on the monster. Each aspect deals different amounts of damage, depending on how much energy the hunter has left over.
11 Lord’s Heal
The most powerful healing spell in the game is called “Lord’s Heal.” Once you’ve acquired the prayer book, you’ll find it in the fortressed manor near the Leyndells’ capital city. You’ll need to use it every few hours while you’re out adventuring. If you want to make sure you don’t run out of HP, you can even set up a hotkey to cast it automatically.
10 Erdtree Heal
Erdtree Heal is one of the most powerful spells in the entire game. While you’ll probably want to save it for late-game dungeons where you’re low on mana and HP, you can use it early on to heal yourself and your party members. You can even use it mid-battle to restore a lot of health to everyone around you.
This spell costs 50,000 gold and requires you to find an Erd tree. If you don’t know what an Erd tree looks like, you can check out our guide here. Once you’ve found one, return to the queen’s bedchamber in Leyndell, where you’ll find the Queen’s Healing Pot. Use it to summon the Erdtreepot, which will open up a portal into the world of Erdrea. Inside, there are three different types of trees: red, blue, and green. Each type restores slightly less health than the others, but it’s worth noting that the green ones tend to regenerate faster. When you’re ready to go, simply exit the portal and head back to Ashen City.
9 Catch Flame
Catch Flame is one of the most powerful spells in RuneScape 3. It creates a huge fireball in front of you, allowing you to deal massive amounts of damage to enemies caught in the blast radius. This spell is particularly useful against bosses and high level mobs, since it does not require much preparation and can be cast quickly.
The spell itself is quite short ranged, but the damage dealt by it makes up for this drawback. In addition, it can be used to set fire to objects like barrels and crates, making it very versatile. Finally, the damage done by Catch Flame scales with the amount of charges in your Fireball Barrage skill, meaning that it becomes even more powerful as you progress further into the game.
8 Lightning Spear
The spell Lightning Spear is another useful addition to the arsenal of the Sorcerer. While it doesn’t deal much damage itself, it can be used to set up combos with other powerful attacks.
When you charge up the spell, it creates a large AoE around the caster where lightning strikes every 0.5 seconds. Enemies caught within the area take lightning damage over several seconds.
This spell can be cast while moving, allowing you to quickly move out of harm’s way.
You can also choose to let the spell run out completely, causing the next attack to hit the target directly.
7 Golden Vow
A fantastic spell for hybrid melee / faith builds, Golden Vow lets you boost your attack and defense, along wth that of your allies, when cast. An easy spell to use just before a boss fight, Golden Vow provides some extra attack and defense for crucial encounters. Applying it again during battle can sometimes be trickier because of the casting time, though it can be mitigated with high dexterity.
Golden Vow can be found in the corpse-stench shack in Mount Gelmir, guarded by the tattered eater, Anastasia. Players should note that this intruder does not need to be defeated to obtain the spell, as it’s possible to run into the hut while she’s busy invading your realm.
6 Honed Bolt
The spell honed bolt is the second most powerful attack in the game. When used correctly, it deals incredible amounts of damage to enemies, and can even kill some bosses. However, there are many ways to use it incorrectly, and it can easily miss targets and deal no damage whatsoever. So how do you make sure you’re getting the most out of this devastating spell? Here’s our guide to making sure you’re maximizing the power of this spell.
5 Glintstone Breath
Glintstone Breath is a useful spell for casters looking to deal additional damage with a single action. Like most spells, it requires MP and casts a cone of magical energy around the caster. Unlike many spells, however, Glintstone Breath does not require a target. Instead, it deals damage directly to the enemy, dealing 3% of the caster’s max HP per second for 10 seconds. This makes Glintstone Breath a great option for casters looking to quickly deal massive amounts of damage to a large group of enemies.
Like many spells, Glintstone Breath is a single use spell. However, unlike many spells, it cannot be used again without spending MP. To maintain Glintstone Breath, hold the cast button while casting the spell to keep it active. While maintaining the spell, you may attack up to three times every 0.1 seconds. If you are hit during maintenance, the spell ends immediately.
The spell itself is fairly simple; it just requires a little practice to learn how to maximize its potential.
4 The Flame Of Frenzy
The Flame of Frenzy is a great spell for dealing damage with incantations. Its ability to build up the Madness stat makes it useful against large groups of enemies, and it can even be used to deal huge amounts of damage to a single enemy. But how does it work?
This spell is based around the idea of channeling energy into the caster’s body, which is represented visually by glowing orbs of light. These orbs are called Bolts, and each one represents a bolt of fire being launched from the eye sockets of the caster. They are fired off continuously, and if you keep charging the spell, more and more bolts will be fired out. Each bolt deals damage to nearby targets, and builds up the Madness stat on the caster and those targets. When enough Madness is built up, the spell ends and the bolts stop firing.
If you want to use the spell, you’ll need to find some way to replenish the energy that fuels it. This is done by casting another spell that costs focus points, which will cause the energy to recharge. You can choose to either cast a spell that gives you Focus Points, or to spend Focus Points to increase the amount of energy recharging. If you’re lucky, you might even find a source of mana that allows you to cast spells without needing to expend Focus Points.
3 Dragonfire & Dragonice
The two elements are surprisingly similar; however, there is one notable difference between them. While Dragon Fire deals great damage, it does not do much else. On the other hand, Dragon Ice does decent damage but gives off a large blast radius. This makes Dragon Ice a better choice for clearing out smaller rooms, while Dragon Fire is ideal for dealing with larger foes.
By conjuring the head of the dragon, you can unleash fire and frost breath attacks with good range. As long as you maintain the spell, it will continue to deal damage for quite some time. However, because of how powerful these spells are, they can quickly deplete your FP supply. To avoid this, try casting these spells in quick bursts.
As mentioned earlier, learning these spells requires 5 dragon hearts. You can acquire them from any of the bosses in the game. A common target for new players would be Greyoll the Mother of Dragons, who drops 5 hearts upon defeating her.
With a Dragon Heart, players will be able to learn the following spells:
Dragon Fire – Deals high damage and clears small areas.
Dragon Ice – Deals moderate damage and provides a large blast radius.
2 Greyoll’s Roar
The second spell taught by the archbishop of the Cathedral of Dragon Communions is Greyoll’s Roaring, a powerful spell that deals damage to multiple targets. This spell is cast with a cost of 10 Dragon Souls and requires 3 Dragon Hearts to learn. Once cast, the spell unleashes a mighty roar that reduces the attack power and defense power of all foes within range. A single use of this spell can deal massive amounts of damage to even several opponents simultaneously.
This spell is particularly useful against large groups of enemies. If you’re facing a horde of stronger enemies, it might be worth casting this spell prior to engaging in battle. You’ll likely find yourself overwhelmed by the sheer number of foes, rendering them easier to defeat.
Greyoll’s Roar can also be used to escape difficult situations. For example, if you are being attacked by a pack of monsters while attempting to enter a dungeon, this spell could help you avoid getting caught up in the fight.
You can learn this spell by spending three Dragon Hearts in Caelid, where the archbishop resides. He can be found in the cathedral, sitting atop his throne.
1 Beast Claw
Beast Claws are a rare drop from the beast boss Gurranq. They’re gained once you’ve completed his questline. To gain one, you’ll need to defeat him five times while he’s friendly; killing him during this period makes him become hostile, meaning he won’t let you pass without fighting you. You can find him in most parts of Elden Ring, though he tends to spawn near the entrance to each zone.
You can see where he spawns in the image above. He’s located just outside the gate in the middle of the map. Once he’s defeated, he’ll ask you to give him a Deathroot. If you don’t, he’ll attack you and attempt to drag you off to the nearby Deadfire Keep. If you manage to escape, he’ll follow you and fight you again. Each time you fight him, he’ll grow stronger, making it harder to defeat him later.
Once you’ve given him the fifth Deathroot, he’ll become friendly again and allow you to continue on your way. When you reach the next part of his questline, he’ll tell you what to do next.
Leave a Reply